Masking
Thus article has been taken from “Paint Contractors Business Manual” by “Kevin McGeer”. Masking an area of an image protects that area from being altered by changes made to the rest of the image which is discussed at “Painters in Rockville MD“.
There is an entire business, just in the masking of areas that are not to be painted. Masking done correctly, can save you a fortune. It is crucial to train your staff well and keep reminding them of the importance of correct masking procedures
- Clear out the workspace
It’s always better to remove an item than to mask it. For interior jobs, light fixtures, switch plates and outlet covers should be removed. To avoid losing the screws, either replace them in their holes or use masking tape to affix them to the items they go with
Paint Contractors Business Manual
Outside, unhook hoses, remove planters, toys, and patio furniture, and consider parking your car on the street if it’s near the work area.
- Cover Everything That’s Left
Many items cannot be removed and must be covered. Some items you may need are:
Drop cloths- These are mainly used to protect the floor or sidewalk from drips.
- Tapes
Several varieties are available. Painter’s tape is the standard for attaching plastic or paper to almost any surface. This tape is available in several widths, from 1cm to 4cm. Its adhesive is strong and can be difficult to remove after a few hours or when exposed to heat or sunlight. In some countries, painters tape can be difficult to come by, so alternative masking tapes should be used.
If your project involves lacquers or enamels, which can dissolve most adhesives, you’ll want to use a high adhesive solvent tape. These tapes are specially developed to hold up to exposure to hot solvents.
Tape can be used by itself, to create straight edges and decorative effects, or it can be used hold your masking paper or plastic film in place.
- Masking materials
It’s important to use commercially available masking materials. Newspaper disintegrates when wet and can leave ink stain; regular plastic film is hard to handle and attach. A hand held masking machine dispenses specialized paper or plastic film, attaches the tape, and cuts it to the appropriate length. Again, these may not be readily available in all areas.
Masking paper is available in two varieties: regular brown craft-style paper, which is cheap and easy to find, and a more expensive green variety for use with enamels, lacquers, and other high-solvent finishes.
Plastic masking film is heavier than most general purpose plastic films, and easier to handle. It is available in several widths, from 60cm to 250cm. Conveniently, the plastic is sized to fit popular window and door sizes.

- Exterior Paint Masking
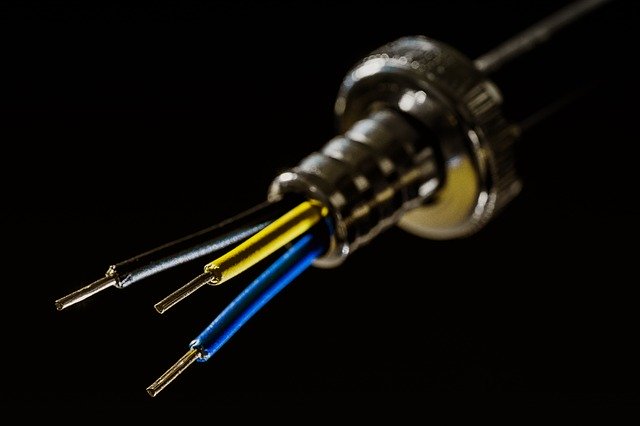
Exterior paint masking includes windows, doors, trim, brick, deck floor, handrail, and sidewalks. Don’t forget about fixtures like water valves, phone and communication boxes, electrical meters and lights.
For wooden decks and other horizontal surfaces, place the drop cloths a few inches from the house and use a masking machine and masking paper to cover the edge close to the house. Attach the paper to the drop cloth with wide tape.
Outside, vertical walls can be masked the same way as interior surfaces. Just be aware that no rough surfaces, like brick, masonry, and concrete, the painter’s tape often will not adhere well. Try to attach the tape to a painted surface instead.
Windows and doors should be completely covered for the best results when undertaking exterior painting projects.
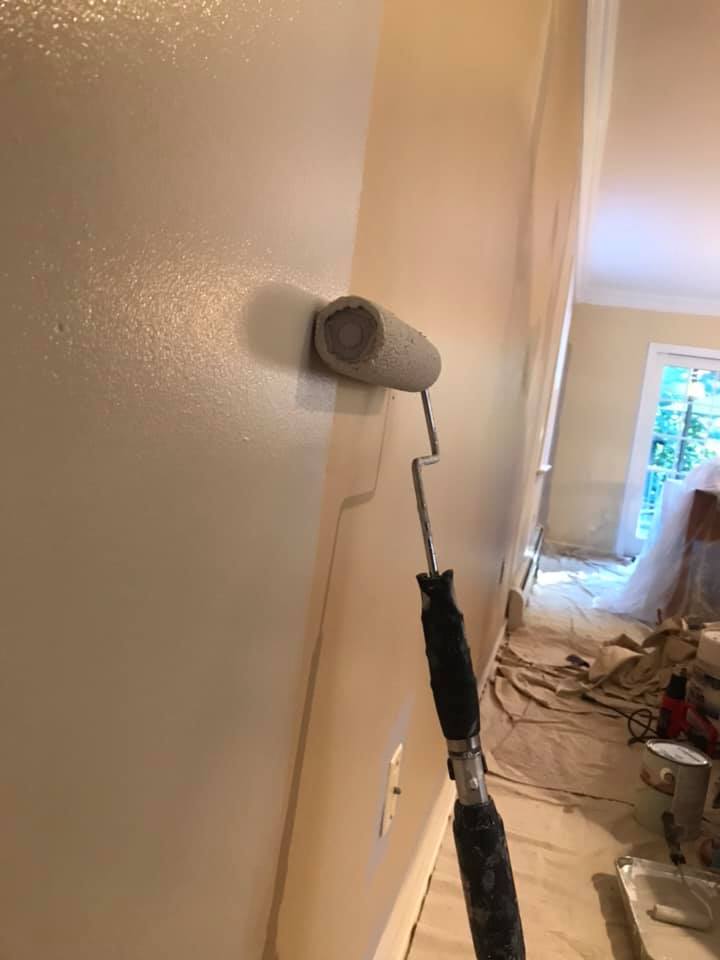
Whether painting indoors or out, using high quality paint, brushes, and rollers can help reduce splatters.
- Spray Painting
Tight seals and complete coverage are essential when spray painting. Over spray is impossible to control, especially outdoors, where it may be windy.
- Windows, Doors, and Cabinets
Completely covering windows, doors, and cabinetry is important if you will be spray painting. The plastic film is faster to apply than masking paper. Using the film dispenser, attach an appropriate length of plastic film to the top of the frame.
If you’re painting the ceiling and don’t want to change your wall colour need to protect and accent wall, you can drape the entire wall in plastic. Use 4cm tape, attached horizontally to the wall. Leave the bottom half of the tape free; position the plastic underneath, then press firmly to adhere. Finish by sealing the side and bottom edges of the plastic.
Pull down the plastic and tack the bottom corners with two small pieces of tape. Next, tape the edges to the wall, creating a tight seal. Be careful not to leave any gaps.
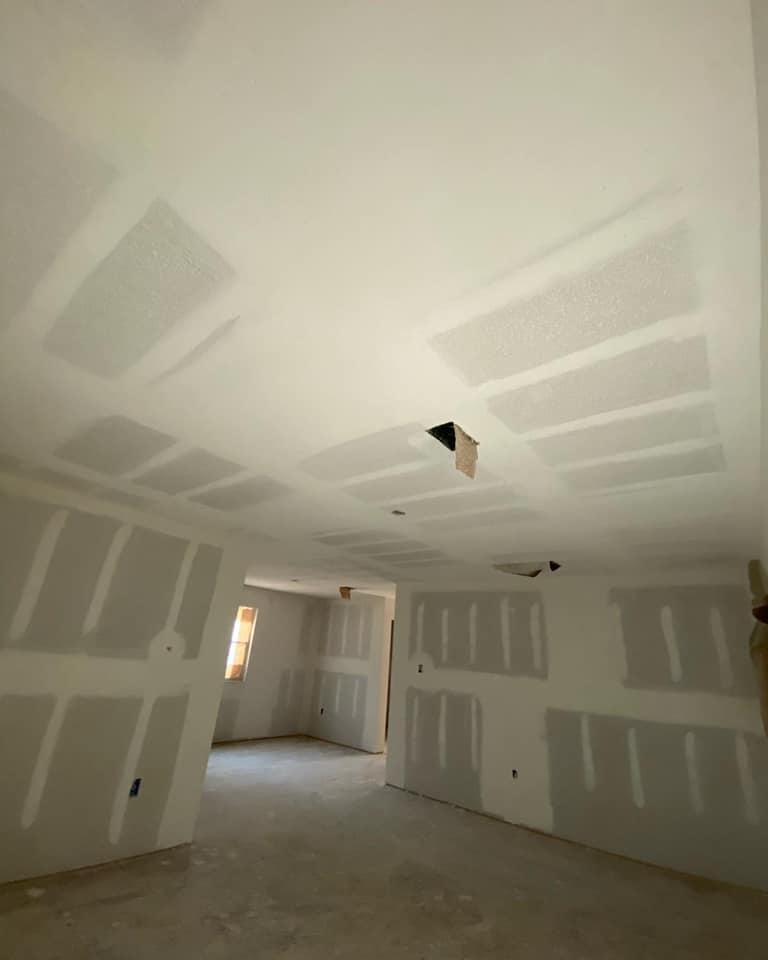
- Ceilings
For smooth or textured ceilings (not acoustic) you can apply masking to protect from overspary7 if you’re painting walls. Attach wide masking tape along the perimeter of the ceiling, then, using a dispenser, attach wide masking paper to the tape. You’ll need to overlap the paper to ensure complete coverage.
Plastic can be attached the same way hand provides better coverage than the paper does.
Take the time to properly protect your work area. Masking everything that can’t be removed will save you hours of frustration and touch-ups!
Wooden decks and fences also require covering or you will be forced to clean then sand and refinish. Drop cloths are your first defense.