Skim coating
This excerpt has been extracted from “Creative Homeowner Ultimate guide drywall Creative homeowner, Upper saddle river, New Jersey”. Skim coating is a great way to make ugly walls and ceilings new again. Also known as a level-five drywall finish, is a thin coat of diluted joint compound that can be applied by hand, paint roller or spraying. “Washington DC painters” helps you with the information on it.
Skim- coating
Difficulty level:
Tools & materials
- Joint compound
- Water
- Mixer
- Roller pan
- 1/3- inch nap roller
- 18 to 24 inch finishing knife
Occasionally, you’ll encounter a dry walling phenomenon known as ghosting or photographing. These terms refer to when the seams and patches of joint compound show through the layers of paint. This can happen because the joint compound and drywall face paper have different porosities and therefore absorb paint differently. The problem tends to show up most noticeably with gloss paints and in rooms with a lot of natural light.
There are two ways to reduce photographing. You can paint the drywall with a primer- sealer. These high- tech products have a high resin content that help hide the seams. If you’d prefer a more traditional method, you can skim- coat the entire wall with a thin layer of joint compound. This will ensure that every square inch has about the same porosity. Skim- coating also helps make new dry- wall blend in better with old plaster. Here’s how to apply a skim coat using a conventional nap roller.
Pre- Priming.
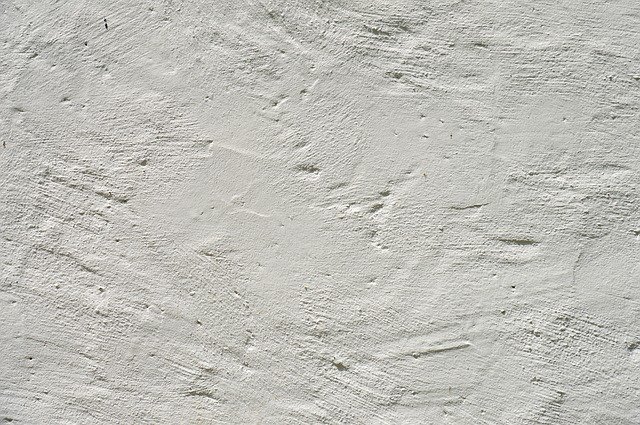
You can apply a coating of watery joint compound to walls to provide a consistent surface for priming.
- Prepare the wall and the joint compound. Tape, finish, and sand the drywall joints as explained. (Skim- coating does not take the place of proper finish work.) Thin the joint compound with water to the consistency of paint or heavy cream.
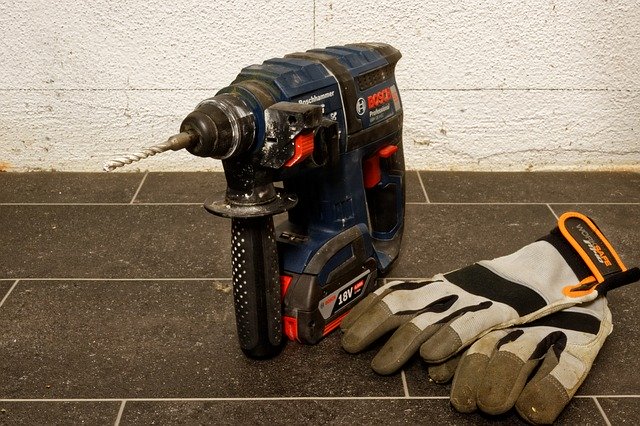
- Blend the joint compound. Mix the watered- down joint compound by hand or by using a mixing paddle chucked into an electric drill. Then pour or scoop out this mixture into a roller pan.
- Apply the skim coat. Roll a thin layer of the new mix onto the wall, just as you would a coat of paint or primer. This thinned mixture will dry quickly, so work just one wall at a time. (A roller cover with a thick nap will give the surface a slight texture; if you want perfectly smooth walls, use the lowest- nap roller cover available, and apply an even thinner mixture.)
- Smooth out the wet skim coat. As soon as you’ve rolled out the thinned joint compound, quickly smooth it with broad, continuous strokes of an 18- to 24- inch finishing knife (or the widest knife or trowel that you have available). Work from the top of the wall to the bottom. You can sand out small ridges later, but try to get the skim coat as smooth and consistent as possible using quick troweling strokes of the knife.
Taping & Finishing
- For skim- coating, joint compound needs to be watered down to the texture of paint.
- Thinned joint compound should be mixed thoroughly, either by hand or with power- driven mixing paddles.
- To defeat photographing (where joint compound absorbs paint differently from drywall), skim- coat the wall by rolling on a thin layer of thinned joint compound.
- Before the rolled- on drywall compound dries, smooth it with a wide straight- handled finishing knife.
Continue reading on Remodelling costs